
Cleaning work after construction.
A practical guide to proper and safe cleaning 🧹 🏗️
After construction or renovation, it seems like everything is finally ready… until you look around. Dust, debris, glue residue, putty stains and a pile of packaging materials. To make the premises truly ready for use, thorough post-construction cleaning is necessary, which requires both a plan and the right approach.
Here’s a step-by-step guide to getting rid of construction debris and dirt effectively and safely.
1. Start with a plan and equipment 📝
Before starting work, prepare:
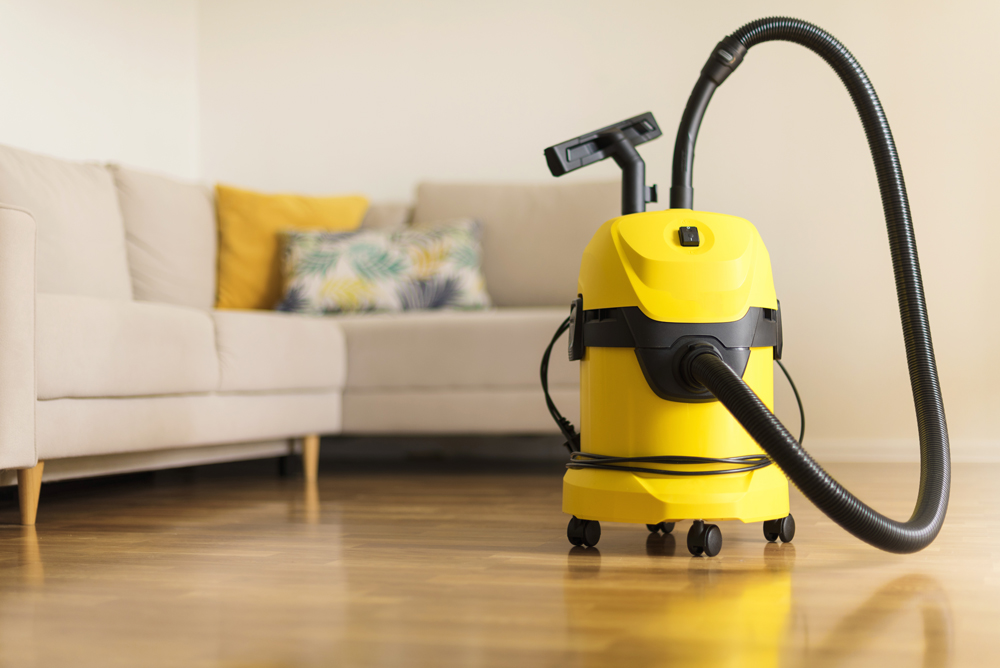
– Construction vacuum cleaner (HEPA filter – ideal)
– Industrial gloves and mask
– Brushes, brooms, garbage bags
– Microfiber cloths, bucket, mop
– Products for cleaning stains and glue residue
– Large garbage containers or construction debris bags
Tip: If possible, divide the cleaning into zones – this allows you to work systematically.
2. Construction debris and packaging collection 🗑️
• Collect and sort construction waste: packaging, films, tile and board cuts, adhesive tapes, old parts
• Removes protective films, cardboard and construction stickers
• Sort waste: plastic, cardboard, metal, other – if possible, take it to a sorting point
3. Dry cleaning – removing dust and particles 🧯
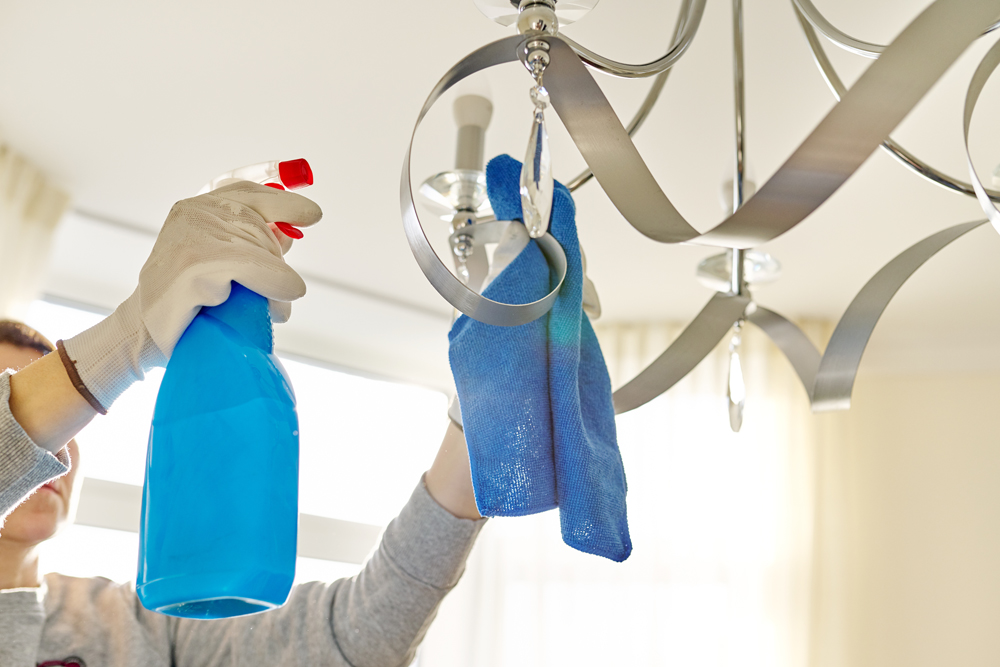
• Vacuum all corners, crevices, walls and ceilings with a construction vacuum cleaner
• Attention should be paid to ventilation openings, electrical outlets, and lighting fixtures.
• Dirt on windows, window sills and door frames should be wiped with a dry or slightly damp cloth.
• Repeat several times, as fine dust continues to settle after construction
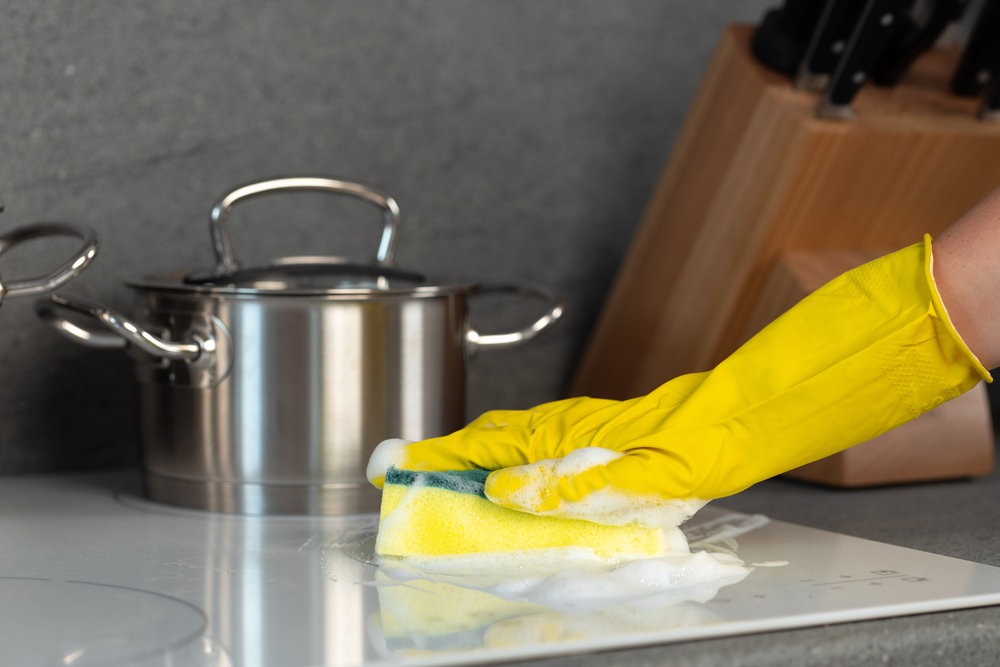
4. Wet cleaning – surfaces to a shine 💦
• Start from the top: cabinet surfaces, shelves, window frames
• Next – tables, worktops, benches, window sills
• Finish with floors: use the appropriate cleaning agent depending on the covering (laminate, tiles, parquet, etc.)
Tip: Do not over-soak surfaces, especially wooden and laminated ones – they may swell.
5. Cleaning windows and glass surfaces 🪟
• Removes putty, glue or cement residue with a plastic scraper
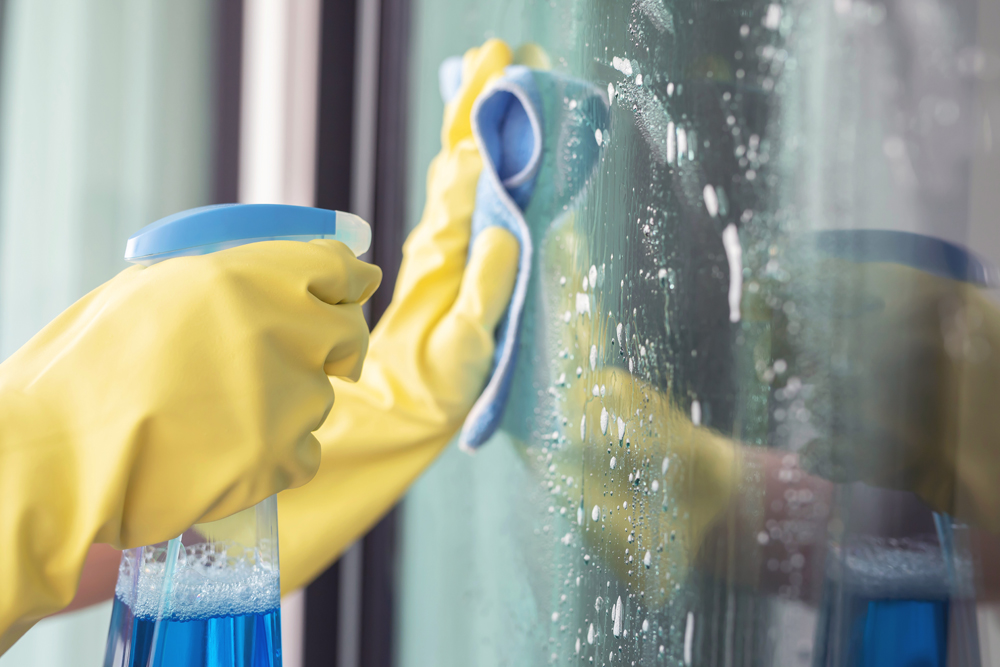
• Wash with glass cleaner
• Pay attention to frames and spacers
• Polish with a microfiber cloth or dry newspaper – streak-free
6. Floor cleaning – the final stage 🧼
• First – dry cleaning (vacuuming or sweeping)
• Then – wet cleaning with a suitable product
• For tiles – you can use a floor cleaner with an alkaline or descaling effect
• If there are stains from paint or glue – use specialized cleaning products
7. Sanitary and kitchen maintenance 🚽
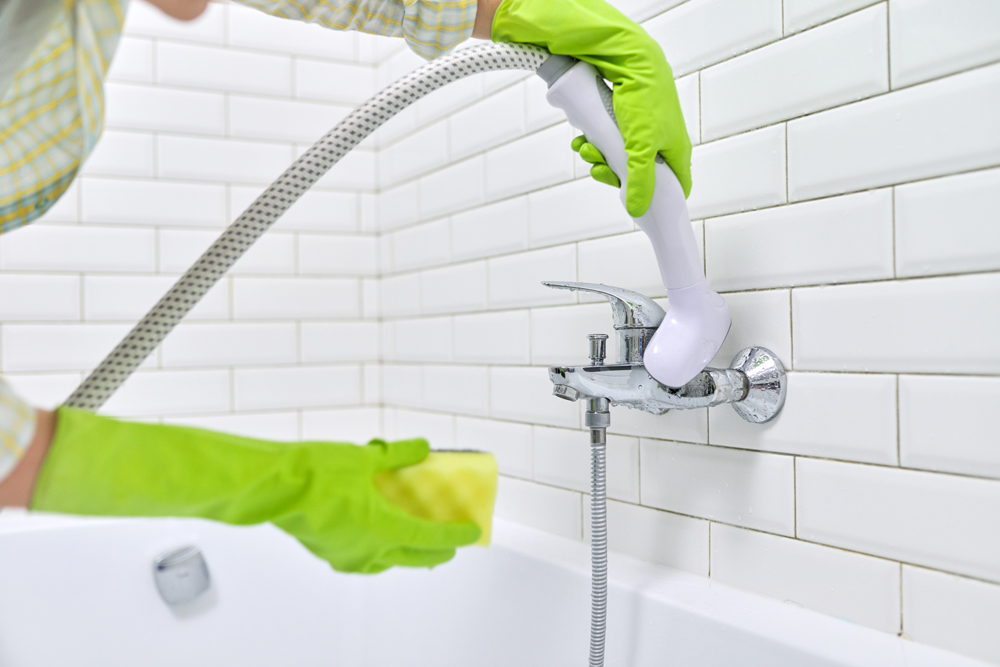
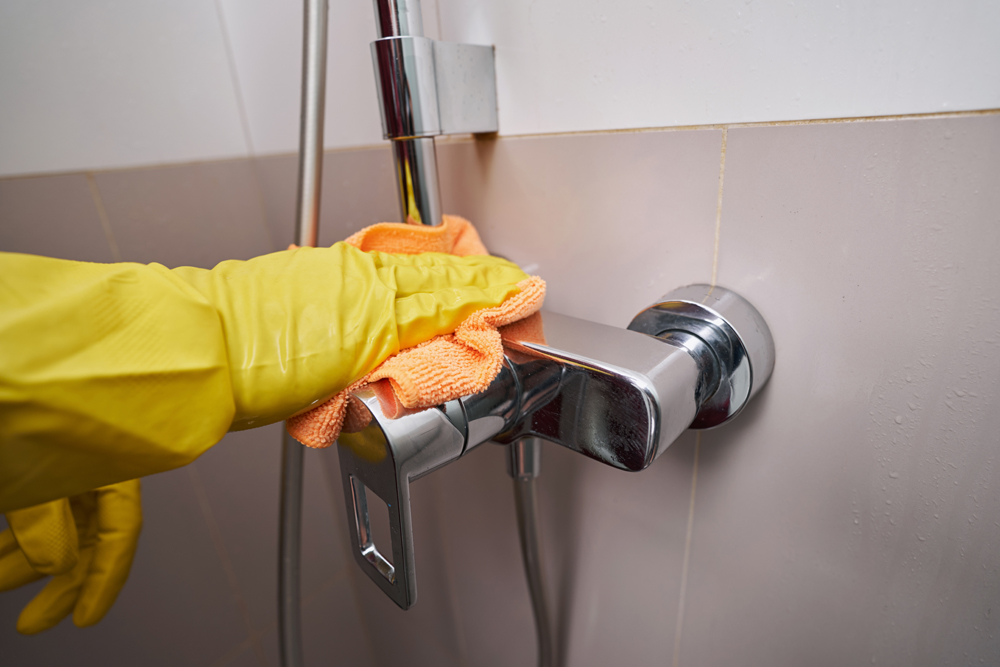
• Clean tiles, plumbing, sockets and light switches
• Check that the drain holes are not clogged with construction waste
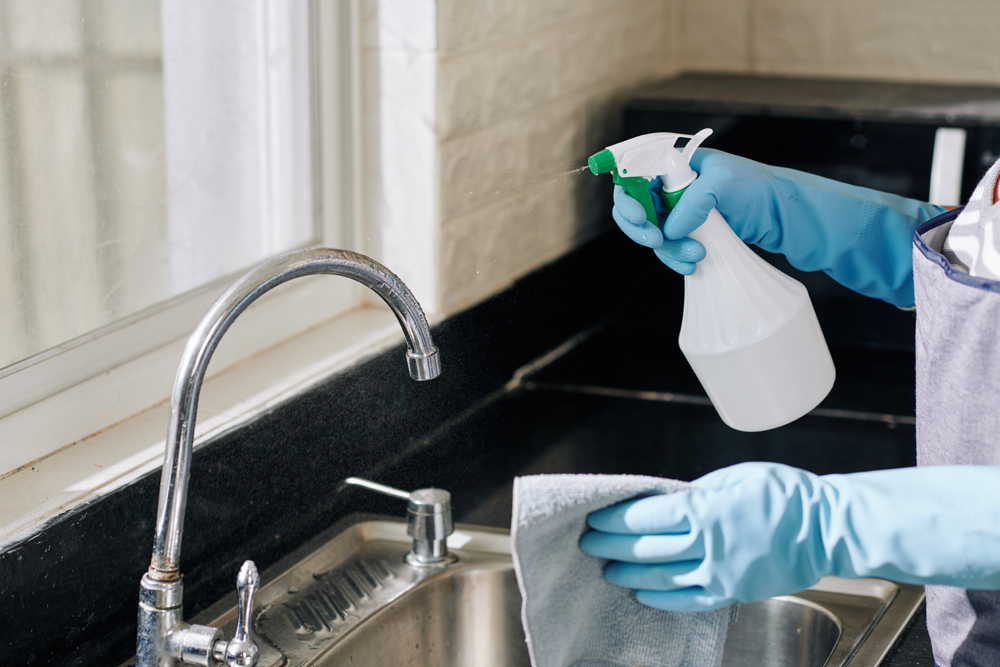
• Mirrors, sinks and surfaces – with antibacterial agents
• Remove protective films from equipment (if not already present) and clean them
8. Stain and streak removal 🧴
• Paint residue: solvent or special cleaner (test on a small area)
• Glue residue: oil-based cleaner, lemon juice/vinegar mixture
• Grout deposits: descaling solutions or acid-based tile cleaner
9. Air purification and ventilation 🌬️
• Ventilate the room for at least several hours
• Turns on fans or recuperation system
• Consider using an air purifier for the first few days
• Clean ventilation grilles and filter systems (if any)
10. Final touches and check ✅
• Wipe down door handles, switches, window sills, sockets
• Keep a check circle – is there a bag of construction debris left in the corner?
• Take the construction debris to the landfill or call a construction debris removal service
• If necessary – order a professional cleaning crew for a final shine
Conclusion
Post-construction cleaning is not only physically demanding work, but also an important step in making the premises truly a livable and clean environment. With the right approach, careful work, and appropriate tools, it is possible to achieve the ideal result – a space where everything is not only new, but also clean and healthy.
A clean start = a quality continuation!
